Genealogists spend a great deal of time looking for people who do not want to be found. Sometimes they changed their names. Sometimes records were destroyed. Sometimes a clerk simply failed to record an event. And sometimes, despite our best efforts, we arrive at a place only to discover that what we seek remains elusive.
That was my experience this summer while searching for the grave of my husband’s Revolutionary War ancestor, Christian Harbaugh.
Christian was the son of Ludwig Harbaugh, whose beautifully preserved tombstone still stands in St. John’s United Church of Christ Cemetery in Sabillasville, Maryland. Visiting Ludwig’s grave had been a rewarding experience. The cemetery was well maintained, easy to locate, and offered a tangible connection to a family that arrived in America during the colonial era.
Christian’s story, however, took a different path.
Unlike his father and grandfather, who were associated with the Mennonite faith, Christian became affiliated with the Moravians. That decision immediately caught my attention when I first began researching him years ago. Religious affiliation often shaped where our ancestors lived, whom they married, and where they were buried.
The decision to leave one faith community for another was not always a simple matter in eighteenth-century America.
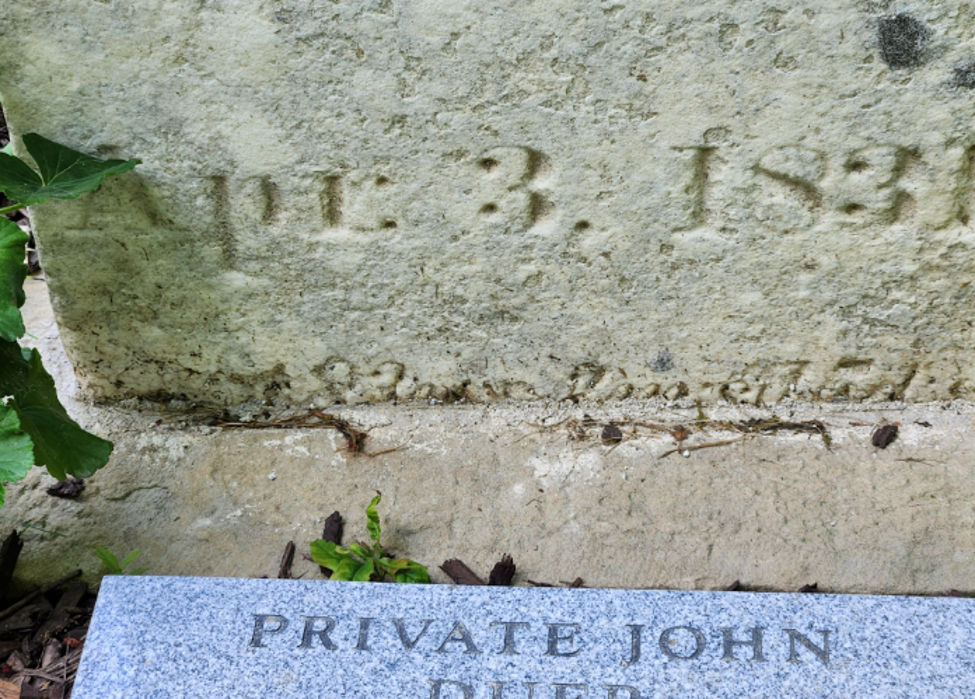
As I planned my cemetery visits this summer, I hoped to locate Christian’s grave in Graceham Cemetery near Sabillasville, Maryland. Online memorials indicated that his stone existed. A photograph of the marker had even been posted.
How difficult could it be? As it turns out, very difficult. Our first challenge was locating the cemetery itself.
The GPS could not identify Graceham Cemetery. Coordinates listed online were not particularly helpful. Several attempts produced confusing results, and we found ourselves repeatedly circling roads in the area without success.
Rather than continue the search blindly, I decided to try a different approach.
Since Christian had belonged to the Moravian Church, perhaps locating the church would lead us to the cemetery. The strategy seemed sound.
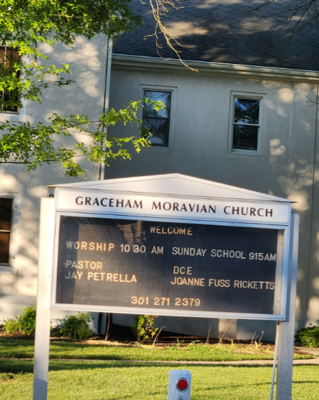
Our GPS quickly located Graceham Moravian Church, a beautiful historic congregation nestled among the rolling hills of Frederick County. Standing in front of the church, I could not help but wonder whether Christian himself had once walked those grounds.
Perhaps he had attended services there. Perhaps family events had been celebrated there. Perhaps he had stood in that very location looking out across the same countryside.
The church connected me to Christian’s life in a way that no document ever could.
But the cemetery remained missing.
We searched nearby roads. We checked maps. We compared information from multiple sources.
Nothing.
Eventually, I had to admit defeat.
The grave I had hoped to visit would remain undiscovered, at least for now.
Driving away, I found myself reflecting on something that genealogy has taught me repeatedly over the years.
We tend to think of research as successful only when we find what we seek.
That is not always true. Sometimes we eliminate possibilities. Sometimes we identify errors. Sometimes we gain a better understanding of an ancestor’s community, beliefs, and daily life. And sometimes we simply learn what does not work.
All of those outcomes have value.
Although I never located Christian’s grave, the trip was not wasted. I walked the grounds of the church that shaped his religious life. I gained a deeper appreciation for the choices he made. I better understood the community in which he lived. Most importantly, I left with new questions.
Why did Christian leave the Mennonite faith of his father? What drew him to the Moravians? How did that decision affect his family and descendants?
The missing grave remains a mystery. Yet some mysteries are worth keeping. They remind us that genealogy is not merely about collecting names, dates, and places. It is about understanding lives.
Christian Harbaugh’s tombstone may have escaped me this summer, but his story did not. Perhaps that is the more important discovery.
Sometimes the journey itself becomes the destination.