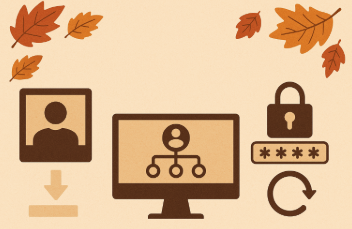
This is a continuing series on my recent adventures to acquire documents for dual-citizenship. You can read earlier posts here – here – and here.
We were up bright and early on Wednesday, ready to track down a divorce record at the Porter County, Indiana courthouse before they even opened.
Here’s another tip for researchers working in Indiana: be prepared to feel like a threat. Most facilities are swarming with armed officers who clearly believe they’re guarding nuclear codes rather than 19th-century paperwork. And no, you can’t bring your cell phone in. Doesn’t matter if you need it to pay. Doesn’t matter if you’re old and holding a manila folder. It’s Wild West rules. Don’t bother asking for an exception. I warned you.
As expected, they couldn’t locate the record.
I thanked them for the stack they had mailed me two years ago, minus the final dissolution of marriage I actually needed certified. Last time, it took them three months to find anything, and they charged me $50.00, a dollar per page, even though they’d made five copies of the same ten pages. No, it wasn’t a juicy divorce. Just sloppy duplication.
This time, I showed them the exact document I needed. I was told I’d hear back once they found it.
Here we go again.
One Clerk, One Win
On to the Porter County Health Department, where I entered a bit too early for some folks’ comfort. While I stood silently at the counter, I overheard one clerk complaining about “letting people in before we open.” (Hi, yes. That would be me.)
Thankfully, another clerk came to the rescue. She was efficient, kind, and within five minutes, I had the certified record I needed.
I mentioned the nightmare from the day before in Gary, and she replied with a sigh: “I couldn’t even get my own birth certificate from them. I had to go through the state.”
So maybe I was lucky after all.
A Church with a Lock and a Secretary with a Key
We drove back to Lake County to revisit the church that had been closed the day before. Again, the door was locked and the secretary spoke to us through it. When I explained what I needed, she let us in and quickly found the baptism and marriage books.
She couldn’t locate the names but from across the desk, upside down, I spotted them and pointed them out. She allowed me to take a photo of the entries, but only after covering up the rest of the page. I didn’t bother mentioning that many dioceses have digitized records entirely, so full-page images are already online.
She couldn’t issue the certificates, though as there was no priest available, and wouldn’t be one “for a while.” The plan was to mail them when a priest showed up.
Which, given how things were going, might be never.
Cemetery Software and the Mystery of the Missing Priest
Next, we made a quick stop at the cemetery, where I hadn’t planned to clean any graves, but found myself wiping down markers anyway. I was there to get an updated cemetery record for the family plot. The version I had was from 2001, and a new family member had since been buried.
They had upgraded to new cemetery software. Unfortunately, no one knew how to print a basic update using it.
So one employee simply handwrote the new information and told me to submit it alongside the old printout. (Ah, technology!)
Déjà Vu with a Twist
While there, I got a call from Porter County. They told me to check my email to confirm they’d found the divorce record.
Cue near-heart attack.
I checked: no email. Nothing in spam. I called back, no voicemail. I called again. The clerk laughed and said, “Oh, I didn’t send it yet.”
I told her we were already on our way.
One Archivist’s Righteous Indignation
And then the Chicago Archdiocese archivist called.
She wanted me to know firmly that my grandparents had not married at St. Salomea’s and that she would not be refunding my money.
I hadn’t asked for a refund.
She was clearly annoyed that I had requested a church record despite already having a civil marriage certificate number. I explained that the county couldn’t find the record.
Her response? “They should find it.” Right – shoulda – woulda – coulda!
As if that’s something I can make happen.
She then turned her attention to the birth/baptism record copies I had submitted for reissuance. Because mine were in English and the parish books were in Latin, she couldn’t issue a new version.
I told her Latin was fine.
Next excuse: the form she uses doesn’t include the word “birth,” and my copy did. She couldn’t reissue it for that reason, either.
I simply said, “That’s okay. I’ll explain that policies have changed over time.”
She grumbled something about being unsure when she’d get around to it. I told her to mail it. We were already heading home.
Tally So Far?
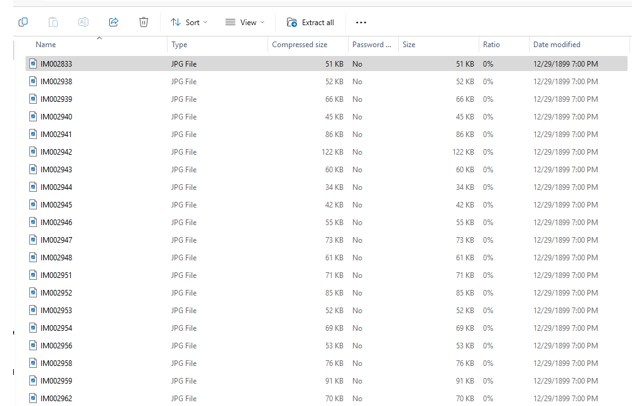
Two days. Fourteen stops. Five records. Not great.